Welcome
Welcome to this guide.
This is the guide for studio owners who want their content to look like an editorial, not an afterthought, without buying a single piece of expensive kit.
A modern phone has a better camera than most studios will ever need. The reason your content does not look the way you want it to is rarely the camera. It is the light, the angle, the distance, the moment, and whether you remembered to record sound properly. Six small decisions, each worth more than any lens you could buy.
By the end of this guide you will have a repeatable process for capturing, organising and using studio content. Photos for the website, vertical clips for Instagram and TikTok, and the kind of warm portraits that make parents enrol on the spot.
How to use this guide
Read it in one sitting before your next shoot, or work through it chapter by chapter with your team. The shot list and consent templates further down are designed to be saved and reused. Tick the checklists as you go.
Who this is for
- Studio owners who post their own content
- Teachers or assistants who run the studio's social channels
- Anyone tired of paying for shoots that never quite capture the studio they know
- Marketing leads inside larger dance organisations who want a usable in-house workflow
Contents
What's inside.
Part One
The Fundamentals
Before the shot list, the editing app, or the posting schedule. The handful of things that separate phone content that works from phone content that wastes the morning.
Chapter 01
The five rules of good phone content.
Memorise these. The rest of this guide is just five rules in more detail.
- 01
Light first, camera second
A studio that looks dim to your eye looks half-asleep to a camera. Find the light before you find the angle. Almost every fix in this guide starts here.
- 02
Get closer than feels natural
Phones have small sensors. Distance flattens everything. Move two paces in. Then one more. Then crop tighter in the edit.
- 03
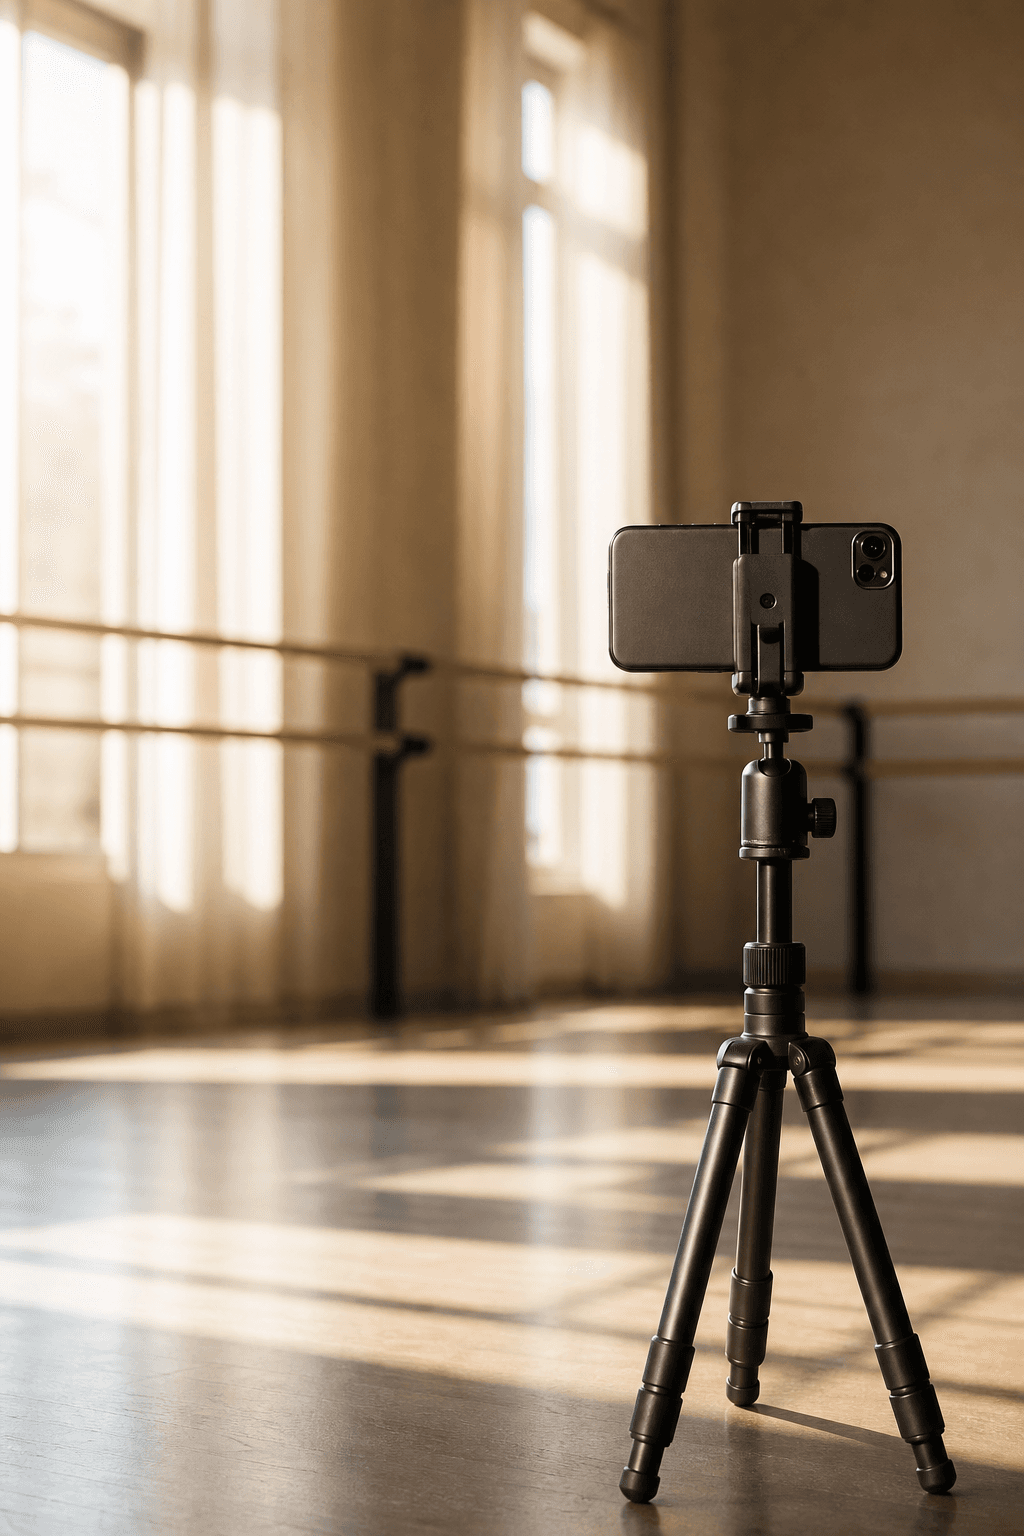
Hold the phone level, hold it still
A small tripod (under £15) buys you better content than a £400 lens upgrade. If you are handheld, lock your elbows to your ribs.
- 04
Record sound on purpose
Phone microphones pick up everything. The studio hum, the dad on the phone, the door slamming. The single biggest upgrade most studios can make is a clip-on microphone.
- 05
Shoot more than you need
Shoot three times as much as you think you will use. Editing is selection. You cannot pick from one take.
Mindset shift
Stop thinking of phone content as the cheap option. Think of it as the responsive option. The teachers and students live on their phones. The content you capture with one will feel native to the place it ends up.
Chapter 02
Knowing your phone.
The five settings that quietly decide whether your footage is usable. None of them are buried; most studios just never look.
Five settings worth knowing
- 01
Resolution and frame rate
Set video to 4K at 30fps for general use, and 1080p at 60fps when you want slow-motion in the edit. Higher numbers, more flexibility.
- 02
Grid lines on
Settings > Camera > Grid (iPhone). The thirds grid makes good framing automatic. Turn it on once, leave it on.
- 03
Focus and exposure lock
Tap and hold on your subject until you see AE/AF LOCK. Stops the camera hunting mid-take, which ruins more clips than any other single issue.
- 04
HDR settings
On iPhone, leave HDR on for stills. For video destined for Instagram or TikTok, turn off Dolby Vision HDR (Settings > Camera > Record Video) so colours look correct after upload.
- 05
Storage and cloud sync
Run out of space at the worst possible moment. Keep at least 20GB free before a shoot. Set iCloud or Google Photos to back up automatically on the studio Wi-Fi.
Android equivalents exist for everything above. Settings names vary by manufacturer. Search the model number plus the setting name if you cannot find it.
Chapter 03
Lighting: where to stand, when to shoot.
Good light is free. Most studio content fails because the photographer stood with their back to the window instead of their face to it.
The three lighting situations
Window light
The best light you have. Stand so the window is in front of or beside your subject, not behind them.
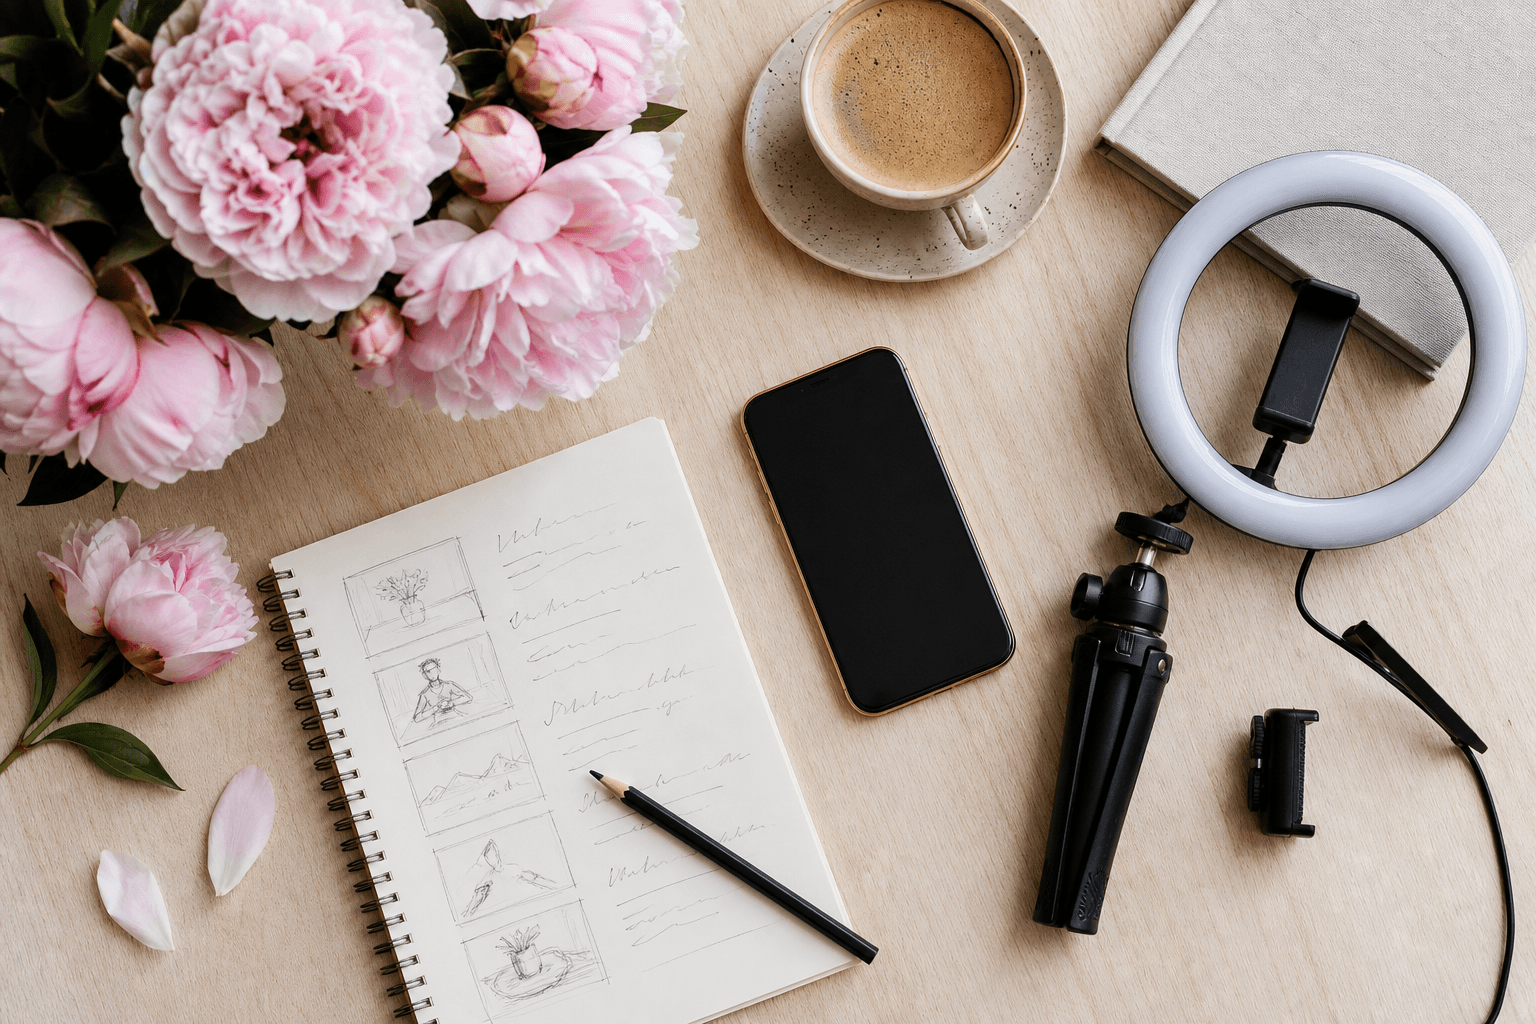
Overhead lights
Functional, often unflattering. Soften with diffusion or add a cheap ring light for portraits.
Stage lighting
High contrast and hard for phones. Expose for faces, accept blown-out backgrounds, shoot more frames.
Quick lighting wins
- Open every blind in the studio before you start
- Position the subject so their face catches soft, indirect daylight
- Do not mix window light with warm overhead bulbs in the same frame
- A £25 LED ring light is the cheapest dramatic upgrade in studio content
Chapter 04
Composition and framing.
Composition is where you point the camera. Get this right and a phone clip looks like a magazine. Get it wrong and a £3,000 camera looks amateur.
Four framings every studio needs
The wide
The whole class, the whole studio, the whole moment. Shows the scale of what you do. Shoot from a corner, low angle, including the ceiling and the floor.
The medium
Two or three students mid-movement, from the knees up. The workhorse shot. Most of your social content will be variations of this.
The close-up
Hands, feet, a face mid-laugh, the bun being fixed. Specific. Tactile. The shots that make parents feel something.
The detail
Pointe shoe ribbons, the studio sign, chalk dust in light, programme notes on a chair. The connective tissue of a content set.
Framing principles
- Rule of thirds. Put faces and key action on the grid lines, not dead centre.
- Eye-line space. Leave room in front of where someone is looking or moving.
- Cut at joints is unkind. Avoid cropping people at the knees, wrists or ankles. Crop mid-thigh or above the elbow.
- Vertical for social, horizontal for website. Plan to shoot both for every important moment.
- Negative space. Less stuff in frame, more impact. The bin in the corner does not need to be in the photo.
Part Two
Capturing the Dance
Movement is the hard bit. The sequence of small choices that turn the energy of a real class into content that feels alive on a screen.
Chapter 05
Capturing movement.
The thing every other guide gets wrong. Most action shots blur because the photographer's shutter is too slow, not because the dancer was too fast.
Five techniques that work on a phone
- 01
Burst mode for jumps and turns
Hold the shutter button. Phones will fire 10 to 20 frames a second. Pick the one where the leg is fully extended, the chin is up, the eyes are open.
- 02
Slow-mo for the technical moments
240fps slow-motion is built into every modern phone. Use it for pirouettes, leaps, fouettés. Three seconds real-time becomes twelve seconds of poetry.
- 03
Pan with the dancer
Move the phone smoothly in the same direction the dancer is moving. Keeps them sharp while the background blurs. Practise on a few takes.
- 04
Anticipate the peak
Every movement has a peak. Press the shutter half a beat before it. Phones have a small lag. Compensate for it.
- 05
Lock focus first
Tap and hold to lock focus on the spot the dancer will arrive at. Stops the camera hunting mid-jump.
From the studio floor
The best dance content is almost never the move itself. It is the breath before, or the held shape after. Train yourself to keep recording past the moment you would normally stop.
Chapter 06
Sound for video.
Bad audio kills good video. Viewers will forgive a soft image. They will scroll past muffled sound in three seconds flat.
The three sound situations
Music-driven clips
The studio music carries the clip. Record clean from your phone's built-in mic, then add the original track properly in editing if you have rights to it.
Talking head
An owner, a teacher or a parent on camera. A £20 wired lavalier clip-on microphone makes phone audio sound professional instantly.
Ambient classroom
The teacher counting, the shoes on the floor, the laughter. Phone built-in is fine. Just stand close to the action.
The kit that earns its keep
- A wired lavalier microphone with adapter. £15 to £30. Plug into the phone's USB-C or Lightning port. Game-changing for spoken content.
- A small foam windshield. Cuts wind noise outdoors. Costs almost nothing.
- A copyright-cleared music library. Epidemic Sound, Artlist, or Storyblocks. Stops your reach being throttled for using the wrong track.
Most social platforms now auto-mute or limit reach on videos using popular copyrighted music. If you want a clip to travel, use licensed or platform-provided tracks.
Chapter 07
Portraits and posed shots.
The shots that build trust. Teachers, principals, head students and the warm group portrait that parents linger on.
What makes a phone portrait work
- 01
Window light, side-on
Subject's face turned slightly towards the window. Phone two paces back. Eye level with the subject, not above them, not below.
- 02
Use Portrait mode sparingly
Great on iPhone and Pixel. Disastrous on hair, tutus, hoop earrings (it loses edges). Take a normal version too.
- 03
Direct without directing
Ask the subject to look at something specific. The door. Their dance partner. Their own hands. Forced smiles never work; specific attention always does.
- 04
Three frames per pose
One looking at camera. One looking away. One mid-laugh after you make a joke. The middle one is usually the keeper.
- 05
Crop tight, leave room above
From the chest up. A little space above the head, more space on the side they are looking towards.
Group shots without the chaos
- Tallest at the back, shortest at the front, with diagonals not straight rows
- Everyone at slightly different head heights (have some sit, some stand)
- Shoot at least 12 frames; someone always blinks
- One serious, one with the prompt "on three, look at each other and laugh"
- Step back further than you think, then crop in tight
Chapter 08
The shot list approach.
The single habit that separates studios with great content from studios with a phone full of nearly-good clips. Plan the shoot before you start.
Why a shot list works
- You stop missing the obvious shots (the studio sign, the door, the kettle in reception)
- You stop shooting eight versions of the same thing
- You leave with content for next month, not just next week
- Your team can help capture even when you are not free
- Editing afterwards becomes a 20-minute job, not a 3-hour archaeology dig
What every shot list should include
The big four framings
A wide, a medium, a close-up and a detail for every class or moment you cover.
Specific moments
Not "action" but "Y3 Ballet first arabesque". Specificity makes the shoot ten times faster.
Vertical and horizontal
Mark each shot V (Instagram, TikTok), H (website) or both. Saves reshoots.
Consent confirmed
Tick alongside every named student that their consent is on file for that use.
Rule of thumb
One hour with a shot list captures more usable content than a whole morning without one. The shot-list worksheet later in this guide is the template we use ourselves.
Part Three
Process & Workflow
What happens before, between and after the shoot. The boring half nobody publishes a guide about. The half that separates a studio with a content library from a studio with a phone full of forgotten photos.
Chapter 09
Consent and safeguarding.
Not optional. Get this right, and you can publish freely. Get it wrong, and one phone call from a parent can pull your whole content library offline.
The non-negotiables
- Written consent from a parent or guardian for every student under 18
- Separate consent for website, social media, and external use (press, ads). Some parents are happy with one, not all.
- An annual refresh. Consent is not a 2019 form in a drawer.
- An easy way for parents to withdraw consent, in writing, at any time
- Children's faces never published alongside their full name unless explicitly consented
Common-sense safeguarding
- 01
Check the background
No registers, postcodes or timetables in shot. No mirror reflections that reveal more than intended.
- 02
Be cautious with location
Do not pair a recognisable child with your published weekly schedule. The combination is the risk.
- 03
Older students get a say
Even with parental consent, ask the student, especially teenagers. Build the habit.
- 04
Keep a refusal list
A simple sheet of no-photo students, accessible to every teacher. Re-check before any external use.
The sample consent form later in this guide is a starting point, not legal advice. UK studios should review the ICO's guidance on processing children's data under UK GDPR.
Chapter 10
Editing on the phone.
The apps that get out of your way. Avoid anything with thirty tabs of filters; you do not need them.
Apps worth installing
Photos (built-in)
Crop, exposure, contrast, warmth, sharpness. 80% of edits should never leave this app.
Snapseed (free)
When you need more control. The Selective tool and the Healing brush are excellent for tidying distracting backgrounds.
CapCut (free)
The industry standard for short-form video. Captions, trims, simple transitions, music sync. Designed for vertical.
Lightroom Mobile
If you want a consistent look across your content. Save one preset, apply it to every photo. Free tier is enough.
A 90-second photo edit
- 01
Crop and straighten
Straighten the horizon. Crop to a stronger composition using the rule of thirds.
- 02
Adjust exposure and contrast
Bring up shadows so faces are clear. Reduce highlights if windows are blown out. Add a touch of contrast.
- 03
Warm the white balance
Most studio shots benefit from +5 to +10 in warmth. Skin tones lift instantly.
- 04
Sharpen, gently
A small amount of sharpening, not enough to look gritty. Done.
Chapter 11
Organising your library.
A photo you cannot find is a photo you do not have. The system below takes ten minutes to set up and saves you hours every term.
The folder structure that works
- Year > Term > Event/Class. One year, three or four terms, then specific shoots inside.
- Naming convention. 2026-03-15_Y3-Ballet_Showcase-Rehearsal. Dates first, hyphens, no spaces.
- A "Hero shots" folder per term. Your top 30 images. The library you reach for when you need something fast.
- A "No consent" folder. Keep these separate so they never end up published by mistake.
Cloud storage that pays off
Google Drive or Dropbox
Shared with your team. The teachers can drop in their own captures. One central library, accessible from anywhere.
iCloud Photo Library or Google Photos
Automatic backup of every photo and video you take, with search. Useful as a safety net even if it is not your primary library.
End-of-term ritual
On the last Friday of every term, spend 20 minutes choosing your 20 best images. Move them into the Hero folder for that term. Future-you will thank present-you constantly.
Chapter 12
The annual content plan.
Most studios capture content reactively, in a panic, the week of enrolment. The studios with consistent presence shoot deliberately, on a rhythm.
The dance studio's content year
- 01
September (back to studio)
The shoot of the year. New term, fresh uniforms, full classes. Plan an hour per class group in week two or three.
- 02
October to December
Show preparations, exam season, costume fittings, dress rehearsals. Storytelling content; behind-the-scenes is gold.
- 03
January (enrolment push)
Trial-friendly content. Tasters, beginner moments, parent testimonials. Reuse the September library if needed.
- 04
February to April
Exam results, festival entries, technique close-ups. Quieter on shows, busier on craft.
- 05
May to July (show season)
Performance content. Backstage. Curtain calls. Bouquets. The emotional payoff of the year.
- 06
August (rest and reset)
Summer school content if you run one. Plan the September shoot. Audit the library and clear consent forms.
A monthly minimum
- Two short vertical clips for Instagram or TikTok
- Six new still images for the website and Google Business Profile
- One "teacher of the month" or "student of the month" portrait
- One ambient classroom moment (no faces required) for variety
Worksheet
Shot-list template.
Print this. Fill it in the day before. Hand a copy to whoever helps you shoot.
Must-get shots
Wide · the studio
Wide · the class
Medium · group action
Medium · teacher in flow
Close-up · faces
Detail · the small things
Consent confirmed for
Worksheet
Sample consent form.
A starting point. Adapt to your studio and have it reviewed by anyone qualified to do so for your jurisdiction.
Photography & video consent
I, the parent or guardian of the child named below, give consent for [Studio Name] to capture and use photographs and video featuring my child for the purposes ticked below. I understand consent can be withdrawn in writing at any time.
Child's name: ___________________________________________
Parent/Guardian name: _____________________________________
Date: ____________________
I consent to my child's image being used for:
☐ The studio website
☐ The studio's own social media channels
☐ Local press and printed marketing
☐ Paid online advertising
Signed: _______________________________________________
This is a sample, not legal advice. UK studios should review their wording against the ICO's guidance on processing children's data under UK GDPR.
Worksheet
Your 30-day content sprint.
The simplest way to build a content habit. Pick a focus for each of the next four weeks. Stick this above your desk.
Kit, consent, shot list
The big capture day
Library, edits, publish
What worked, what next
Success looks like...
In 30 days I will know this worked because: